[et_pb_section fb_built=”1″ _builder_version=”4.22.1″ min_height=”750.2px” custom_padding=”0px||0px||false|false” global_colors_info=”{}”][et_pb_row _builder_version=”4.16″ background_size=”initial” background_position=”top_left” background_repeat=”repeat” global_colors_info=”{}”][et_pb_column type=”4_4″ _builder_version=”4.16″ custom_padding=”|||” global_colors_info=”{}” custom_padding__hover=”|||”][pac_divi_table_of_contents included_headings=”off|on|on|off|off|off” level_markers_1=”whole” _builder_version=”4.22.2″ _module_preset=”default” global_colors_info=”{}”][/pac_divi_table_of_contents][et_pb_button button_url=”https://birdnetpi.bcardi.org/” url_new_window=”on” button_text=”Click to see our BirdNetPi Website Cataloging Birds Near our Feeder” button_alignment=”center” admin_label=”BirdNetPi Goto Button” module_id=”birdnetpi” module_class=”birdnetpi” _builder_version=”4.22.2″ _module_preset=”default” global_colors_info=”{}”][/et_pb_button][et_pb_text admin_label=”Intro” _builder_version=”4.22.2″ background_size=”initial” background_position=”top_left” background_repeat=”repeat” global_colors_info=”{}”]
Start a BirdNETPi website for less than $100
BirdNETPi records the bird sounds around you and lets you know what birds are visiting
BirdNetPi is an amazing tool that allows you to classify birds in real-time using your Raspberry Pi. If you’re new to the world of Raspberry Pi and software installations, don’t worry! This guide will walk you through the process step by step.
Raspberry Pi’s have been in short supply and can be very expensive at this time. With that in mind this post will tell you how to use a Libre Le Potato to do the whole thing. This is the way I started and it’s very easy.
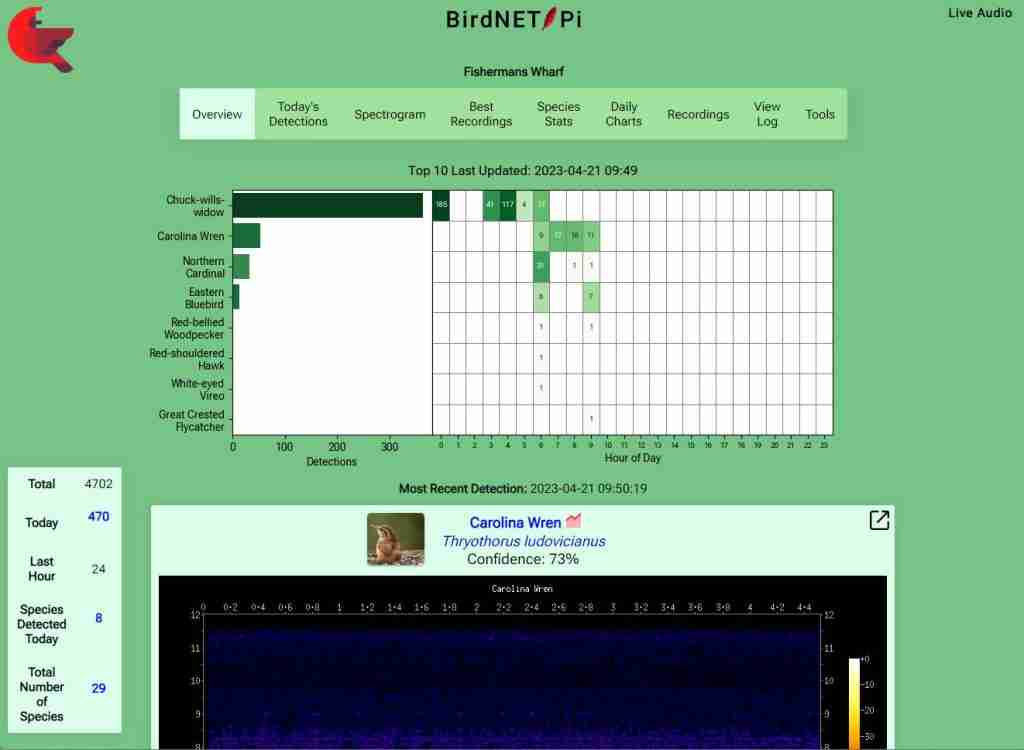
To view our BirdNetPi Website click the button below. This site has been running 24/7 since the summer of 2022.
[/et_pb_text][et_pb_heading title=”Products You Will Need to Buy” admin_label=”Heading above table” _builder_version=”4.22.2″ _module_preset=”default” title_level=”h2″ title_text_align=”left” global_colors_info=”{}”][/et_pb_heading][et_pb_text admin_label=”These Products (above table)” _builder_version=”4.22.1″ _module_preset=”default” global_colors_info=”{}”]
These are the products that are not free and you will need them to make a BirdNETPi website: (afeathertogether.com is a participant in the Amazon Services LLC Associates Program, an affiliate advertising program designed to provide a way for websites to earn advertising revenues by advertising and linking to Amazon.com or .ca, .co.uk, etc.)
[/et_pb_text][et_pb_button _builder_version=”4.22.2″ _module_preset=”default” global_colors_info=”{}”][/et_pb_button][et_pb_text admin_label=”Shortcode for Content Egg Collection” _builder_version=”4.23.1″ _module_preset=”default” hover_enabled=”0″ global_colors_info=”{}” sticky_enabled=”0″]
![[20W 5V 4A] Raspberry Pi 4 Case, with iUniker 20W 5V 4A USB C Raspberry Pi 4 Power Supply with Switch Heatsink 40mm Cooling Fan for Pi 4 4 8gb/4gb/2gb](https://m.media-amazon.com/images/I/61isgudgHHS._SS520_.jpg)


[/et_pb_text][et_pb_text admin_label=”Add All to cart” _builder_version=”4.23.1″ _module_preset=”default” text_orientation=”right” hover_enabled=”0″ global_colors_info=”{}” sticky_enabled=”0″]
[/et_pb_text][et_pb_heading title=”Needed Free Software” admin_label=”Needed Free Software Header” _builder_version=”4.22.2″ _module_preset=”default” title_level=”h2″ global_colors_info=”{}”][/et_pb_heading][et_pb_text admin_label=”Needed Free Software” _builder_version=”4.22.1″ _module_preset=”default” global_colors_info=”{}”]
You will need to download the following free software.
[/et_pb_text][et_pb_heading title=”Making Your SD Card” admin_label=”Making Your SD Card Header” _builder_version=”4.22.2″ _module_preset=”default” title_level=”h2″ global_colors_info=”{}”][/et_pb_heading][et_pb_text admin_label=”Text about SD Card” _builder_version=”4.22.1″ _module_preset=”default” global_colors_info=”{}”]
Make sure you have your SD Card in the adapter plugged into your computer. (You may need a USB Card Reader which you can obtain here if your computer doesn’t have one. Press the Choose button under Storage and choose your SD Card. (It is important that you make sure that you have chosen the correct card as what you choose will be completely erased and you will be warned by the Imager of this.
[/et_pb_text][et_pb_image src=”https://afeathertogether.com/wp-content/uploads/2023/10/Screenshot-2023-04-231.png” title_text=”Screenshot 2023-04-231″ admin_label=”image of raspberry pi imager” _builder_version=”4.22.2″ _module_preset=”default” global_colors_info=”{}”][/et_pb_image][et_pb_text admin_label=”text about writing to the SD Card” _builder_version=”4.22.1″ _module_preset=”default” global_colors_info=”{}”]
Choose the SD card onto which we will write the OS to. Make sure this is the right card as it will erase everything on it.
[/et_pb_text][et_pb_heading title=”Before Pressing Write” admin_label=”Before Pressing Write Header” _builder_version=”4.22.2″ _module_preset=”default” title_level=”h2″ global_colors_info=”{}”][/et_pb_heading][et_pb_text admin_label=”Before pressing WRITE” _builder_version=”4.22.1″ _module_preset=”default” global_colors_info=”{}”]
Before pressing WRITE press the circular hamburger button in the bottom right. From here you will enable SSH, setup your wifi information, enter your username and password and set your hostname.
[/et_pb_text][et_pb_image src=”https://afeathertogether.com/wp-content/uploads/2023/10/Screenshot-2023-04-23-080033.png” title_text=”Screenshot 2023-04-23 080033″ admin_label=”image of password for ssh” _builder_version=”4.22.2″ _module_preset=”default” global_colors_info=”{}”][/et_pb_image][et_pb_text admin_label=”You should also %22Enable SSH%22 and select to %22Use password authentication%22″ _builder_version=”4.22.2″ _module_preset=”default” global_colors_info=”{}”]
You should also “Enable SSH” and select to “Use password authentication”
[/et_pb_text][et_pb_image src=”https://afeathertogether.com/wp-content/uploads/2023/10/Screenshot-2023-04-23-080120.png” title_text=”Screenshot 2023-04-23 080120″ admin_label=”image of wifi ssid” _builder_version=”4.22.2″ _module_preset=”default” global_colors_info=”{}”][/et_pb_image][et_pb_text admin_label=”Adjust the locale settings for your Time zone and Keyboard layout” _builder_version=”4.22.2″ _module_preset=”default” global_colors_info=”{}”]
Adjust the locale settings for your Time zone and Keyboard layout
Leave the Persistent Data Checkboxes Empty.
[/et_pb_text][et_pb_heading title=”Using Putty” admin_label=”Using Putty” _builder_version=”4.22.2″ _module_preset=”default” title_level=”h2″ global_colors_info=”{}”][/et_pb_heading][et_pb_text admin_label=”Putty Text” _builder_version=”4.22.2″ _module_preset=”default” global_colors_info=”{}”]
You will need to download Putty You can then look up your IP address in your router (Different routers have different ways to find the IP address for connections..look for Attached Devices or something like that and it should say RaspberryPi or whatever you made your “hostname” to above) Type the IP address into the Hostname or IP Address field in Putty and answer yes to the dialog that comes up after you press open. Login with the username and password you created above when you made the SDCard image.
[/et_pb_text][et_pb_image src=”https://afeathertogether.com/wp-content/uploads/2023/10/Screenshot-2023-10-12-074155.png” title_text=”Screenshot 2023-10-12 074155″ admin_label=”image of putty” _builder_version=”4.22.2″ _module_preset=”default” global_colors_info=”{}”][/et_pb_image][et_pb_heading title=”Booting the Raspberry Pi” admin_label=”Booting the Raspberry Pi” _builder_version=”4.22.2″ _module_preset=”default” title_level=”h2″ global_colors_info=”{}”][/et_pb_heading][et_pb_text admin_label=”Allow Pi to boot” _builder_version=”4.22.2″ _module_preset=”default” global_colors_info=”{}”]
When the SD card is ready, you’ll be notified that is ok to remove it from your computer
At this point, you will put the SD card into the Raspberry Pi and will allow it a few minutes to
boot up. After a few minutes, you can move on to the next step.
[/et_pb_text][et_pb_heading title=”Setting up the Raspberry PI” admin_label=”Setting up the Raspberry PI” _builder_version=”4.22.2″ _module_preset=”default” title_level=”h2″ global_colors_info=”{}”][/et_pb_heading][et_pb_text admin_label=”Paste code into ssh” _builder_version=”4.22.2″ _module_preset=”default” global_colors_info=”{}”]
Copy and paste the command below into the terminal and press “Enter”
Note: Ctrl+Shift+V will often paste in Terminals — in PuTTY, right-click to paste
[/et_pb_text][et_pb_dmb_code_snippet title=”Copy to your command line” code=”Y3VybCAtcyBodHRwczovL3Jhdy5naXRodWJ1c2VyY29udGVudC5jb20vbWNndWlyZXByODkvQmlyZE5FVC1QaS9tYWluL25ld2luc3RhbGxlci5zaCB8IGJhc2g=” linenums=”on” copy_button=”on” _builder_version=”4.22.2″ _module_preset=”default” body_font=”|700|||||||” body_text_align=”left” body_text_color=”#E02B20″ header_level=”h5″ header_font=”|700|||||||” header_text_color=”#E02B20″ background_color=”#FFFFFF” custom_margin=”0px||0px||false|false” global_colors_info=”{}”][/et_pb_dmb_code_snippet][et_pb_heading title=”Setting up BirdNETPi” admin_label=”Setting up BirdNETPi” _builder_version=”4.22.2″ _module_preset=”default” title_level=”h2″ global_colors_info=”{}”][/et_pb_heading][et_pb_text _builder_version=”4.22.2″ _module_preset=”default” global_colors_info=”{}”]
Access your BirdNetPi site by opening your browser and entering the hostname, birdnetpi.local, or the IP address you used in Putty.
To set up:
- Click on “Tools” on the menu’s right side.
- Enter the username “birdnet”. Leave the password field blank.
- After logging in, go to “Settings” and finalize them.
- Correct your Latitude and Longitude if necessary and click “Update Settings”.
- Optionally, request a BirdWeather ID and explore “Advanced Settings” for more adjustments.
- Remember to change your password!
[/et_pb_text][/et_pb_column][/et_pb_row][/et_pb_section]


Pingback: A Guide to Sparrow Identification